

Export & Backup
Export your data to CSV, JSON, or a full SQLite database for backup, migration, or analysis in another tool.
Last updated
Your Wealthfolio data is yours. You can export it in three formats depending on what you need to do.
1 · Run an export
- Settings → Exports.
- Pick your format (CSV, JSON, or Full database).
- Pick what to export (Accounts, Activities, Holdings, Goals, Portfolio History).
- Pick the destination folder.
- Export.
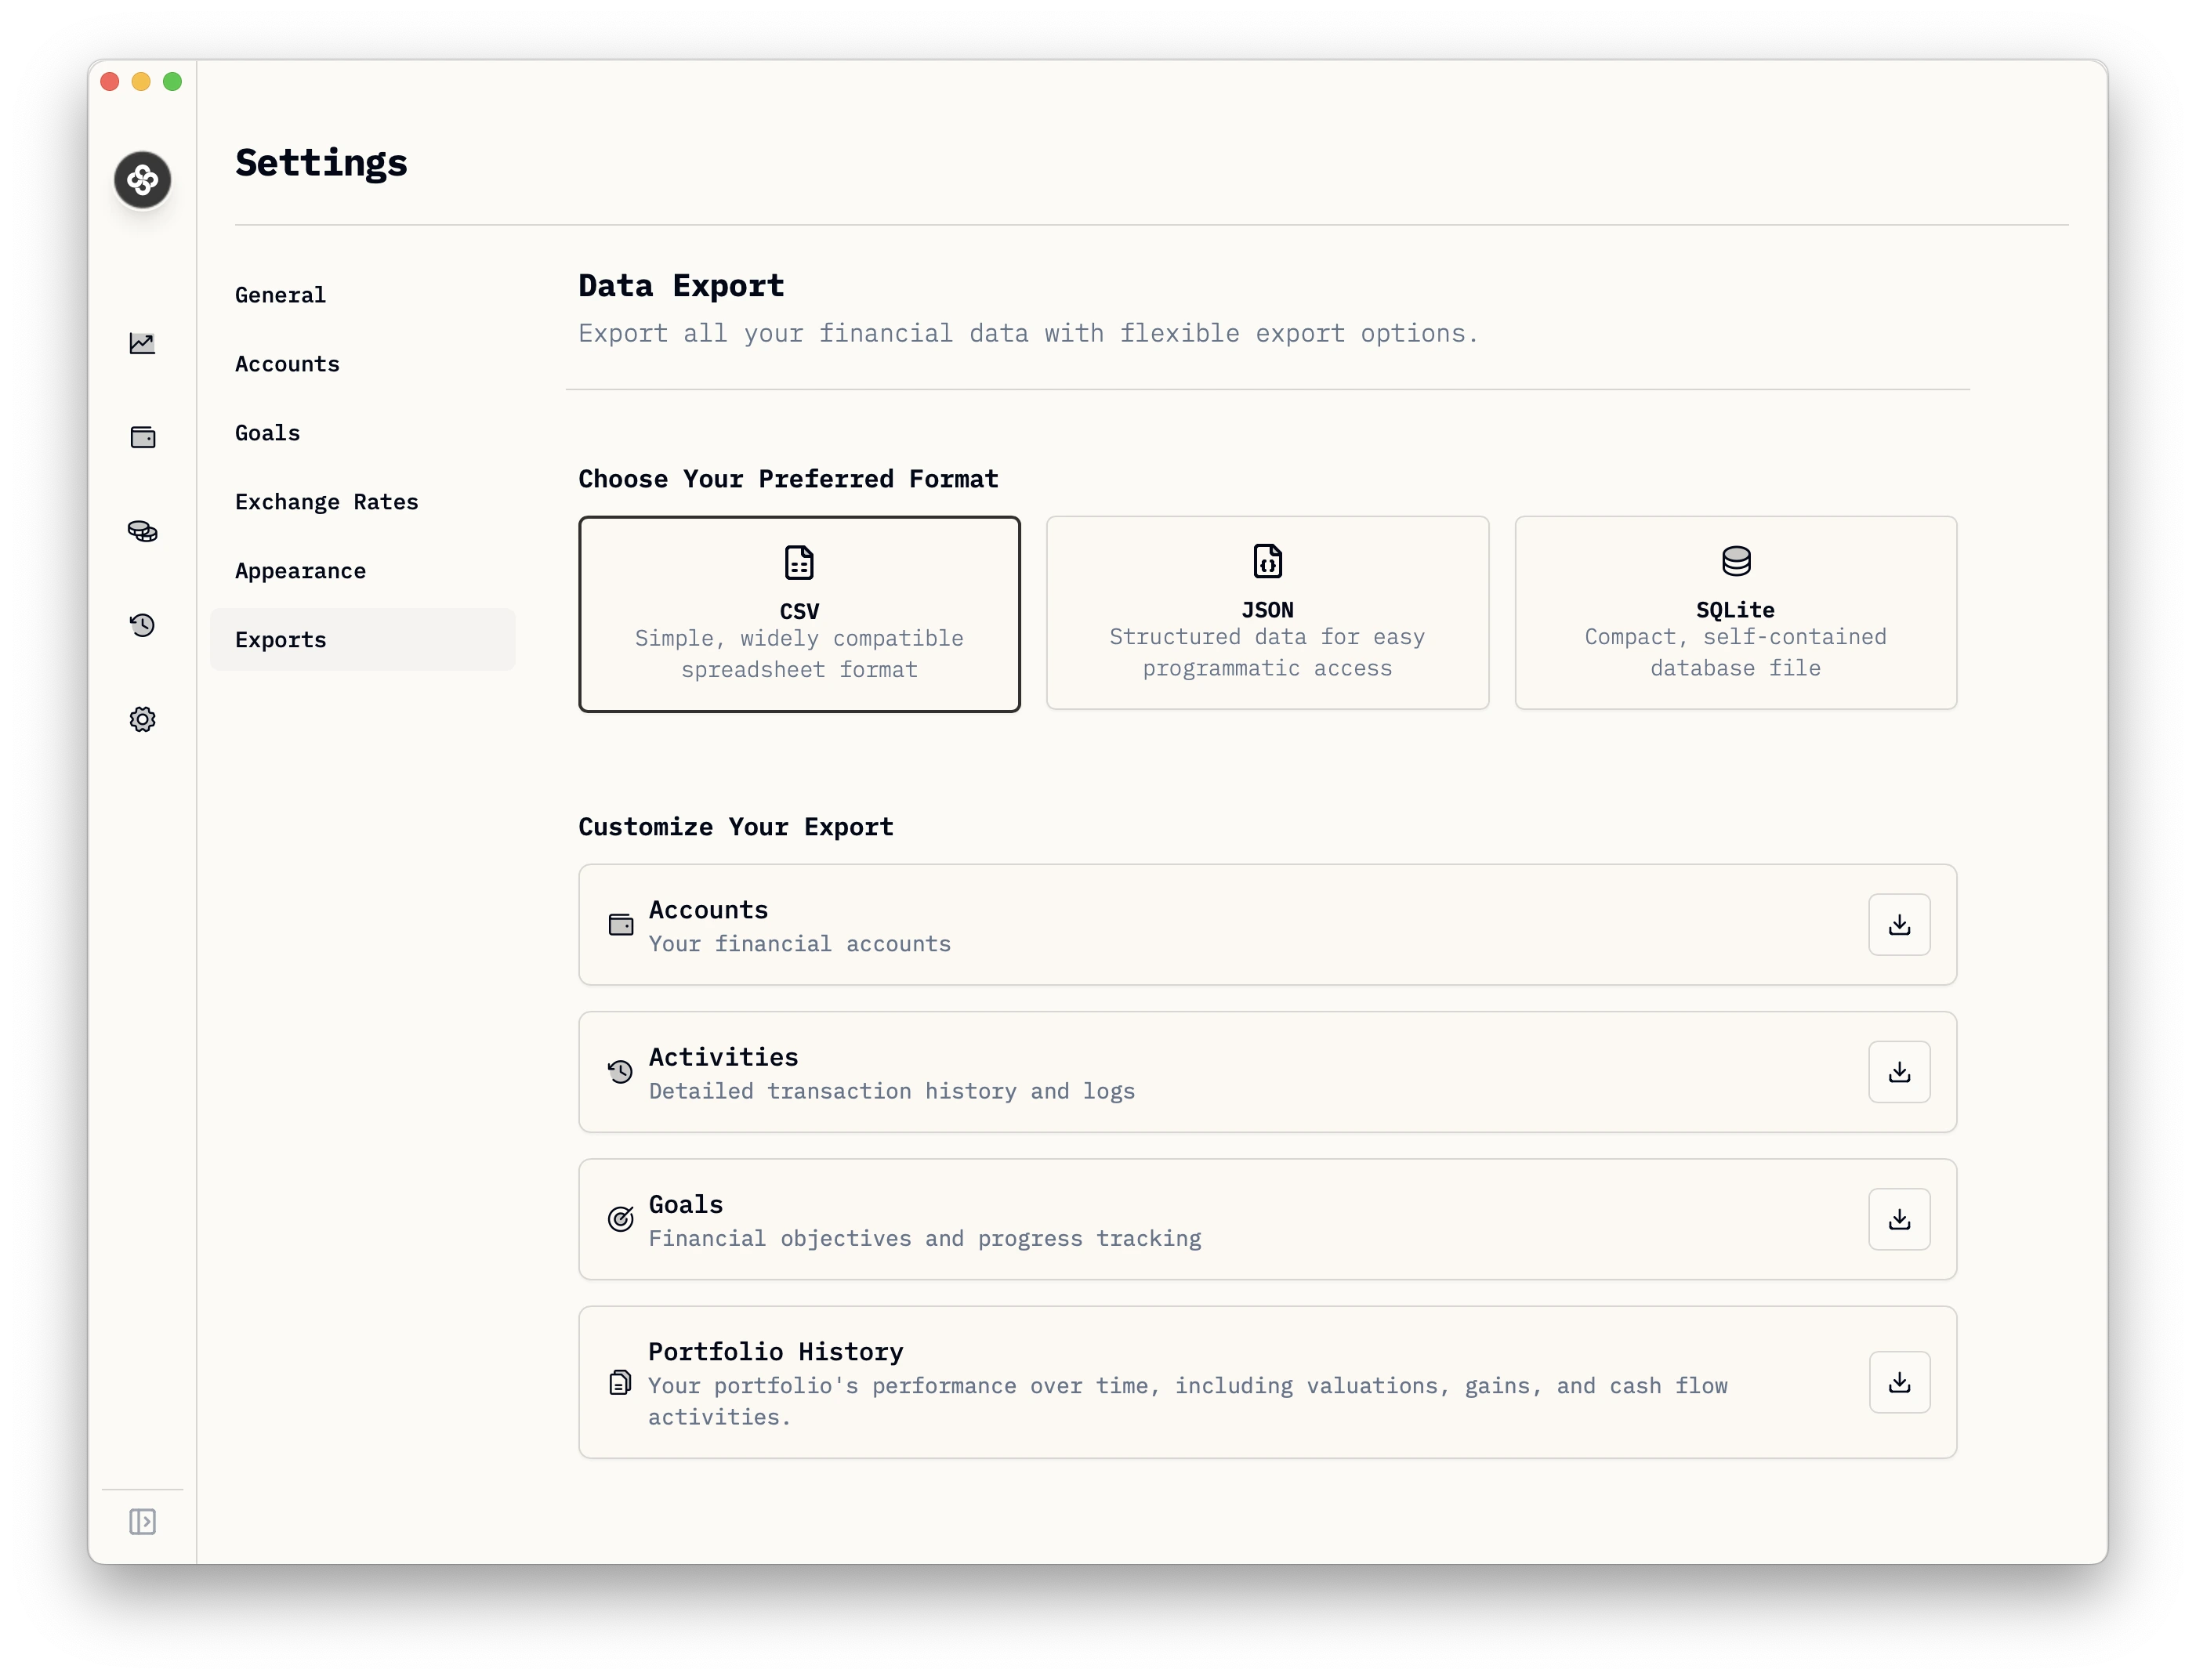
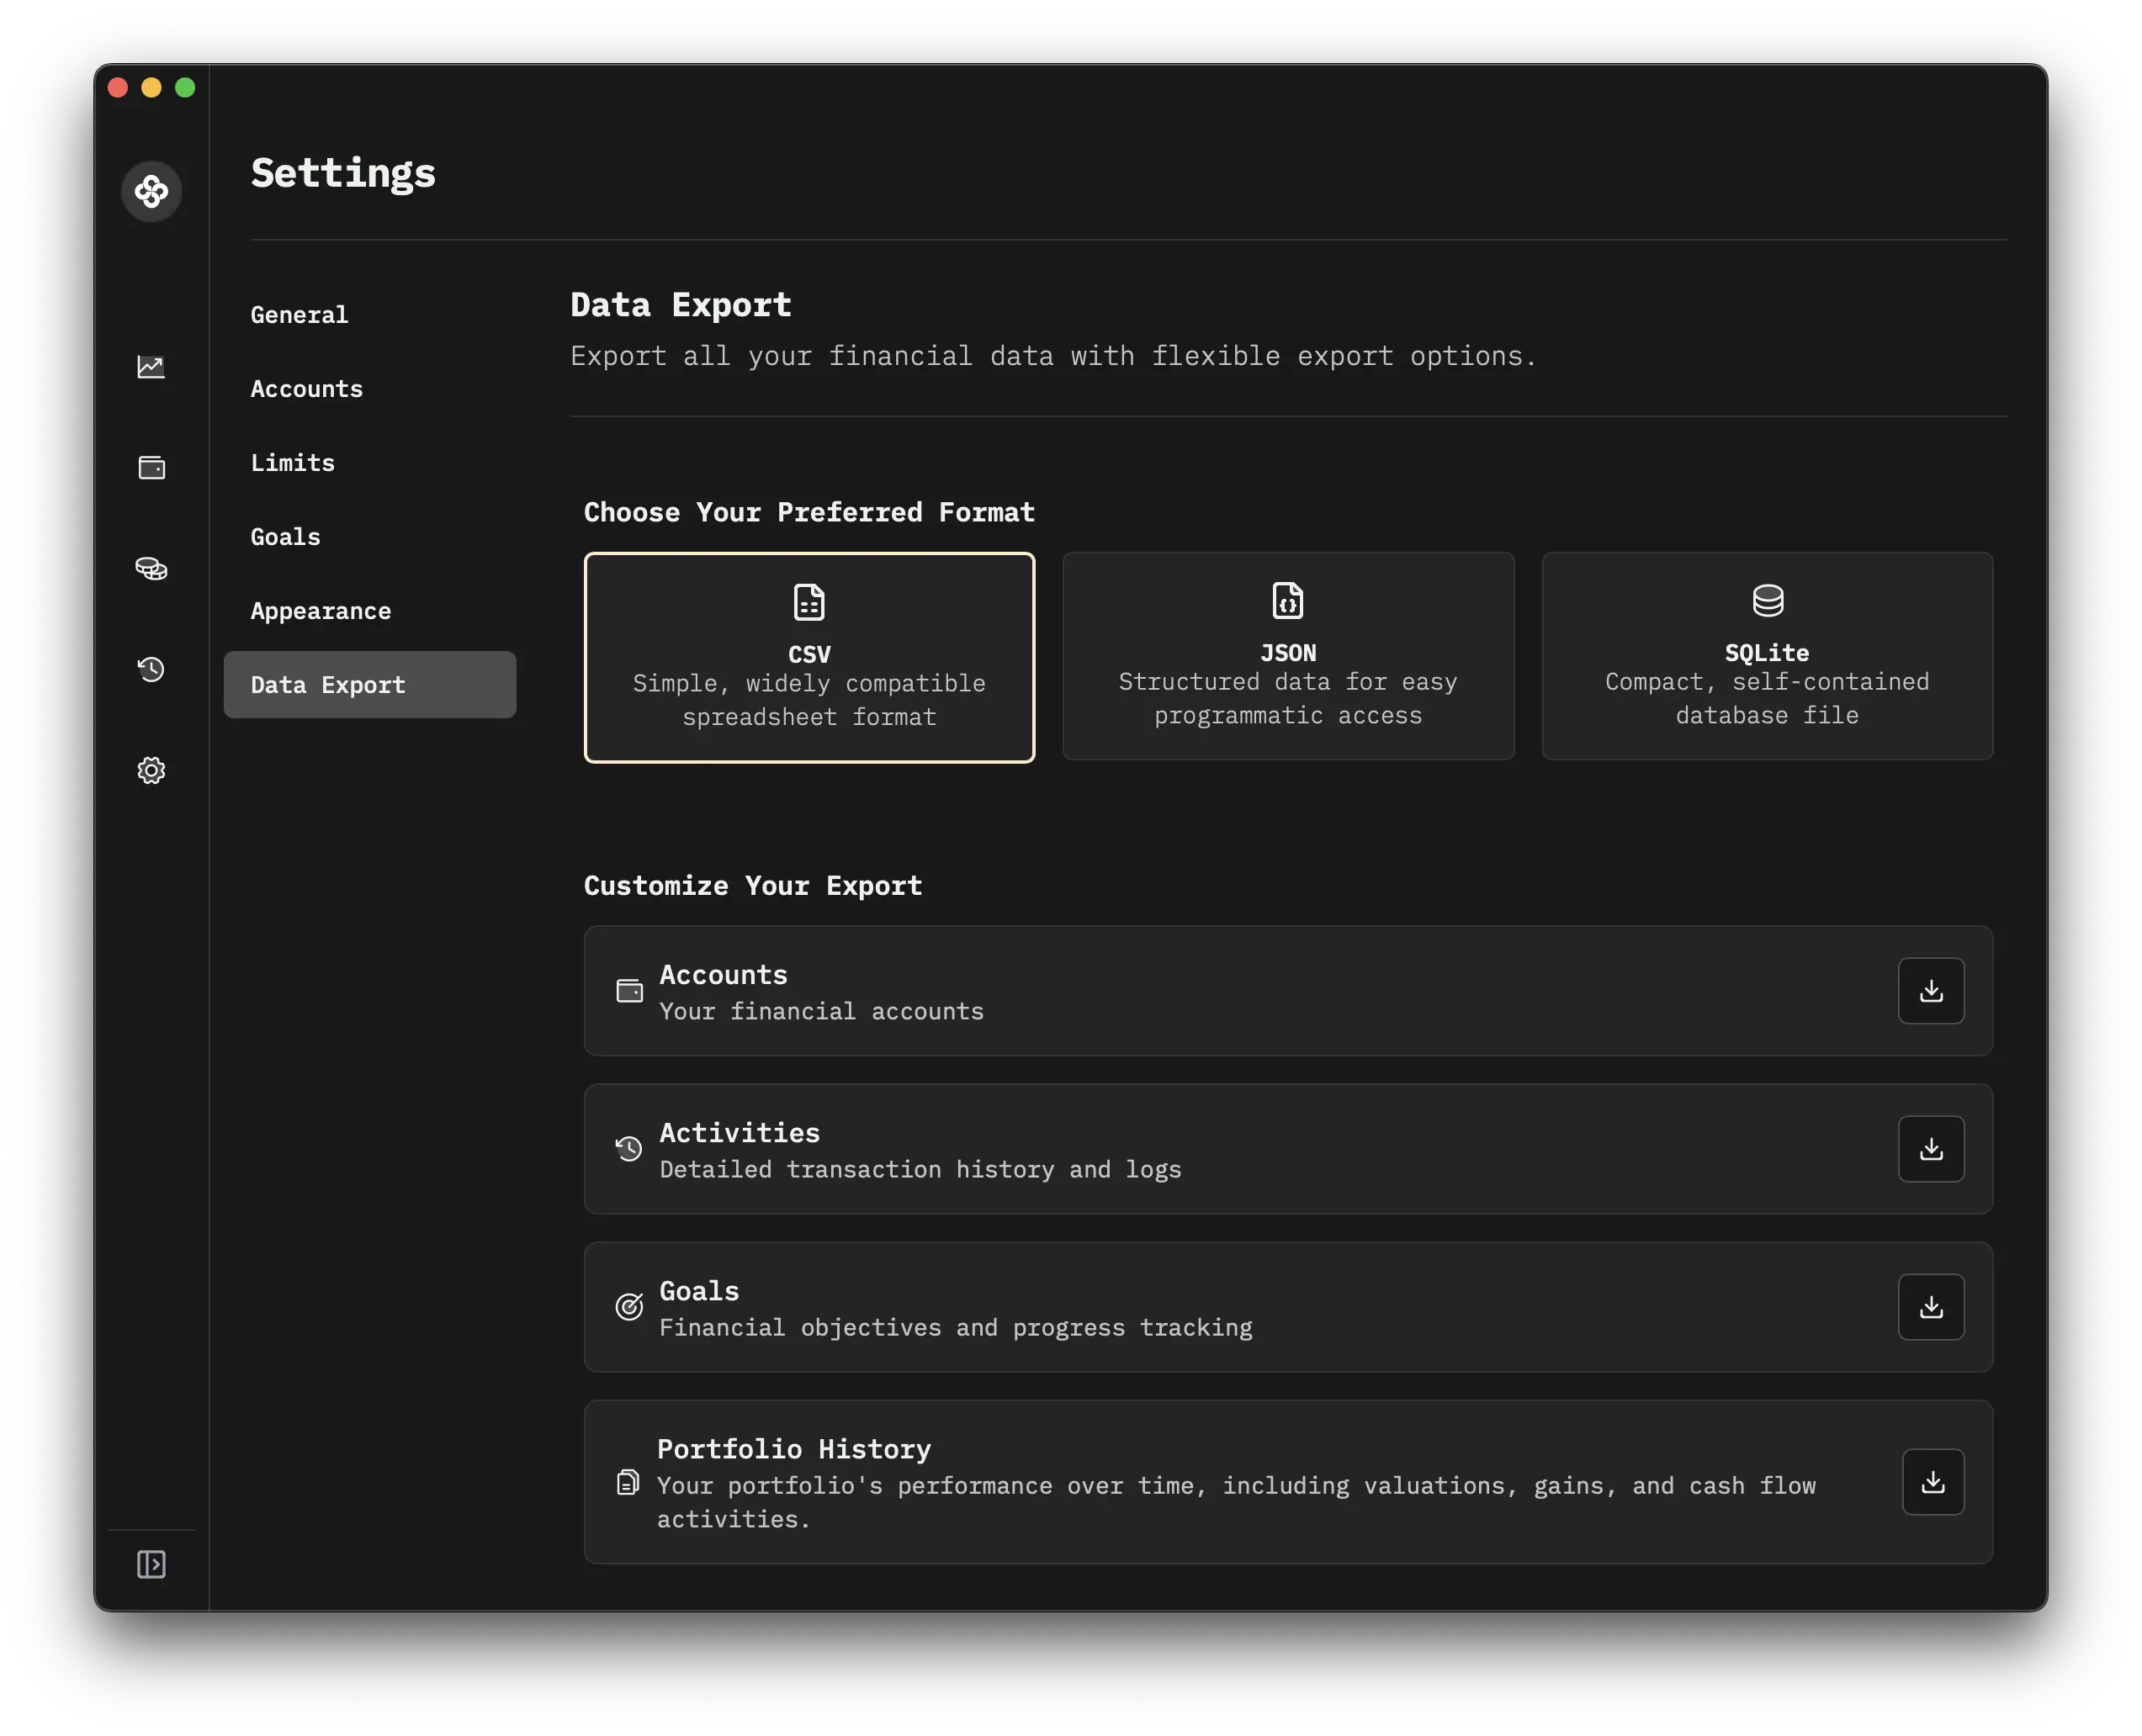
2 · Pick the right format
| Format | When to use |
|---|---|
| CSV | Loading into a spreadsheet, sharing one table with someone, importing into another tool. |
| JSON | Programmatic processing, scripts, custom dashboards. Preserves nested structures CSV flattens out. |
| Full database | Complete backup or migration to a new machine. One SQLite file containing every table and every row. |
For a backup before a big change (a major version upgrade, a bulk delete, a tax-time checkpoint) → use Full database. It’s the only format that round-trips losslessly.
3 · Round-trip restore
To restore from a full-database export:
- Close Wealthfolio.
- Locate your data directory:
- macOS:
~/Library/Application Support/com.teymz.wealthfolio/ - Windows:
%APPDATA%\com.teymz.wealthfolio\ - Linux:
~/.local/share/com.teymz.wealthfolio/
- macOS:
- Move the existing
app.dbaside (rename it; don’t delete it until you’ve verified the restore). - Copy your exported database into the same location, renaming it to
app.db. - Reopen Wealthfolio.
Self-hosted: stop the container, replace the database file at the path set by WF_DB_PATH
(default ./db/app.db; see Configuration),
start the container.
CSV / JSON exports don’t round-trip to a full database. They’re for partial reuse, not full restoration.
4 · Where the database file lives if you’d rather copy it
You don’t have to use the export feature to back up. You can copy the SQLite file directly. Same paths as above. Stop the app first (or use SQLite’s online backup mechanism via the CLI if you need a hot copy).
5 · Scheduled exports?
There’s no built-in scheduler today; exports are manual. If you need automated backups:
- Self-hosted: snapshot the data volume with your container/host’s backup tool (e.g.
restic,borg, Proxmox snapshots, Unraid backup plugins). - Desktop: include the Wealthfolio data directory in your normal backup tool (Time Machine, Windows File History, Restic).
Both approaches give you point-in-time recovery without trusting any cloud, and they keep working even if Wealthfolio’s export UI changes.